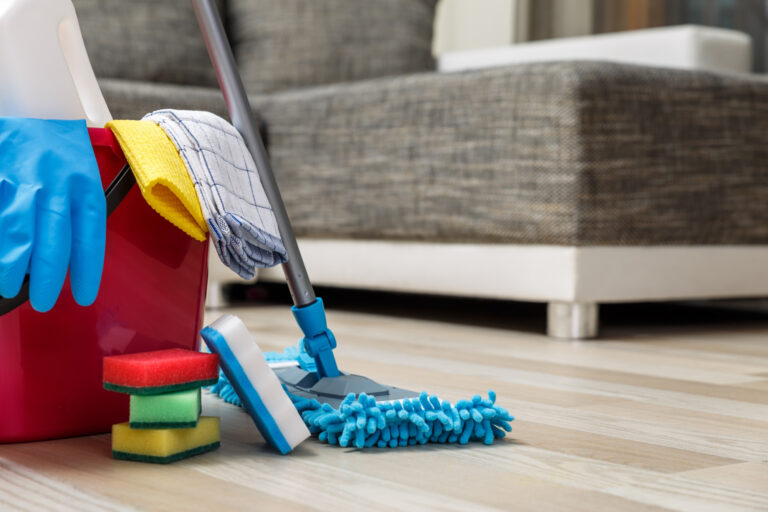
Creating a home that feels fresh and clean shouldn’t be a daunting task. If you’ve ever found yourself overwhelmed by the sheer number of cleaning products in stores, you’re not alone. This prompted me to dive into a simpler, more effective solution—making your own powerful vinegar cleaning spray. With just a few ingredients, you can tackle messes without breaking the bank or worrying about harsh chemicals.
This guide is for anyone who loves a clean home but is tired of traditional cleaning products filled with toxic substances. If you’re a DIY enthusiast, a budget-conscious homeowner, or someone who simply wants to make healthier choices for your living space, you’re in the right spot. You’ll discover how to whip up a versatile vinegar cleaning spray that not only smells great but also works wonders against grime and stains.
By the end of this post, you’ll have a clear understanding of how to create your own natural cleaner that rivals any store-bought solution. From gathering your ingredients to customizing your scent, I’ve got you covered. Get ready to embrace the power of DIY cleaning, and say goodbye to those chemical-laden products!
Key Takeaways
– Understand why vinegar works: Learn about the natural cleaning properties of vinegar and how it effectively tackles dirt and bacteria.
– Gather simple ingredients: Discover the easy-to-find materials needed to create your vinegar cleaning spray, ensuring a hassle-free preparation process.
– Mixing it up: Follow the basic recipe to create your vinegar cleaning spray while exploring tips for adjusting the concentration and effectiveness.
– Customize your scent: Find out how to add your favorite essential oils for a pleasant fragrance, turning your cleaning routine into a more enjoyable experience.
– Safe surfaces and tough messes: Identify which surfaces are safe for vinegar cleaning and how to tackle challenging stains with your new DIY solution.
Why Vinegar Works Wonders

Vinegar is not just for salads; it’s a cleaning superstar! It contains acetic acid, which easily dissolves dirt, soap scum, and mineral deposits. You can safely use it on various surfaces, including countertops and glass, making it incredibly versatile. Plus, it’s non-toxic, so you don’t have to worry about harmful chemicals around kids and pets.
This natural cleaner offers incredible benefits that cater to your home’s needs. Its effectiveness covers a wide range of cleaning tasks, ensuring a fresh and healthy environment. You’ll love how it tackles tough messes while being eco-friendly and budget-friendly.
Key benefits of using vinegar for cleaning:
– Natural Disinfectant: Eliminates bacteria and viruses effectively.
– Deodorizer: Leaves your home smelling fresh and clean.
– Stain Remover: Great for fabrics and carpets.
With all these advantages, it’s clear why vinegar is becoming a favorite among those seeking a natural cleaner option!
📹 Related Video: 2 DIY Cleaners That Actually Work!
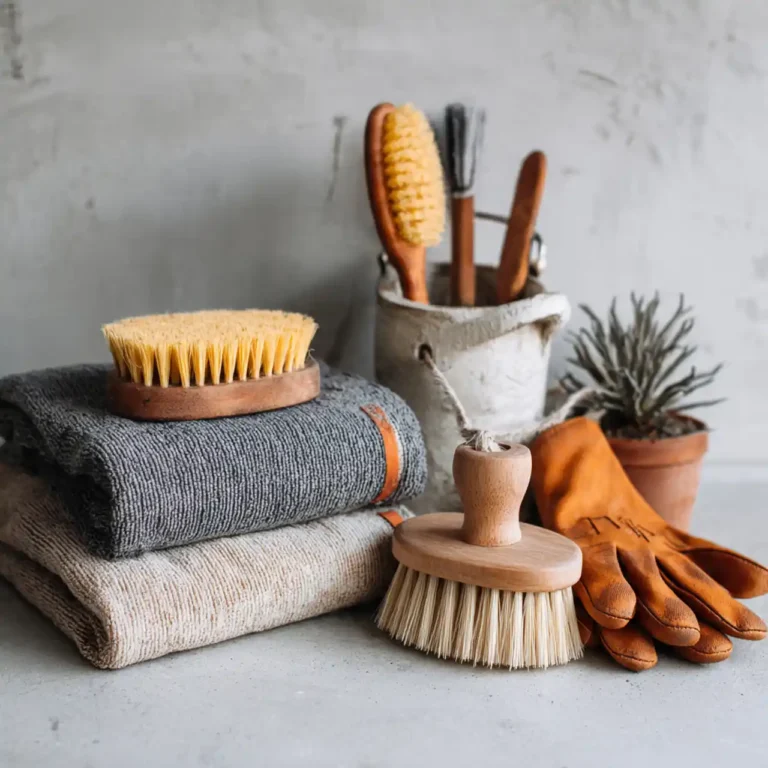
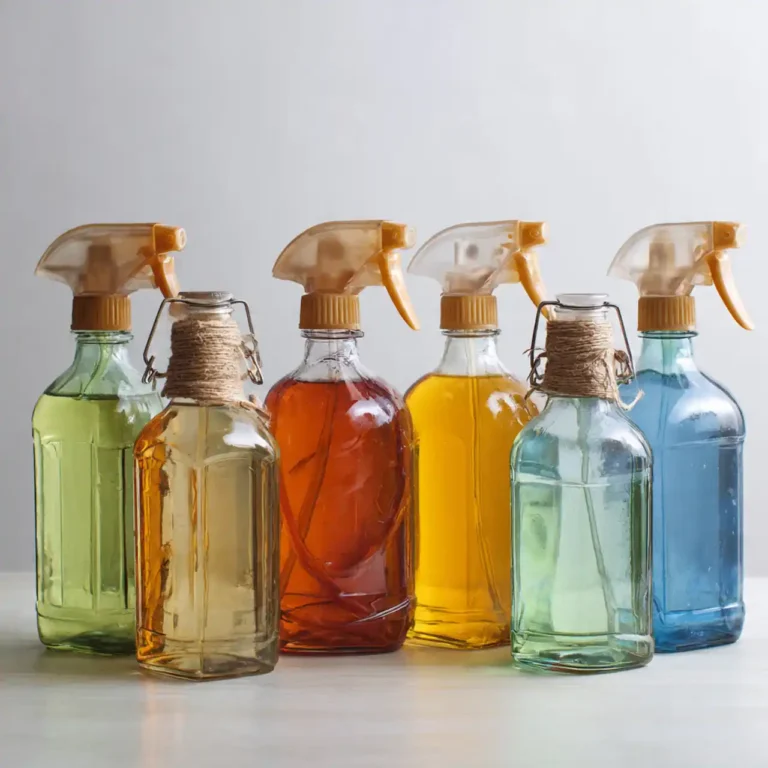
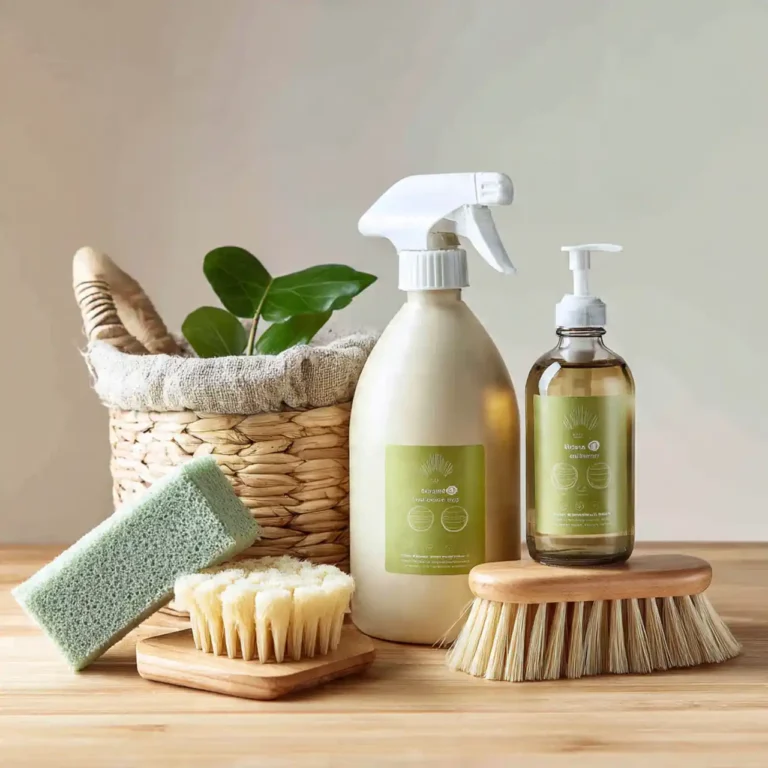
Gather Your Ingredients

Creating your vinegar cleaning spray is easy with just a few household ingredients.
You’ll need:
– Distilled white vinegar (1 cup)
– Water (1 cup)
– Optional essential oils like lavender or lemon for added fragrance
– A glass spray bottle for storage
Each ingredient plays a crucial role in the cleaning process. Vinegar provides the cleaning power, while water ensures it’s safe for all surfaces. Including essential oils not only enhances the scent but also boosts the cleaning efficacy.
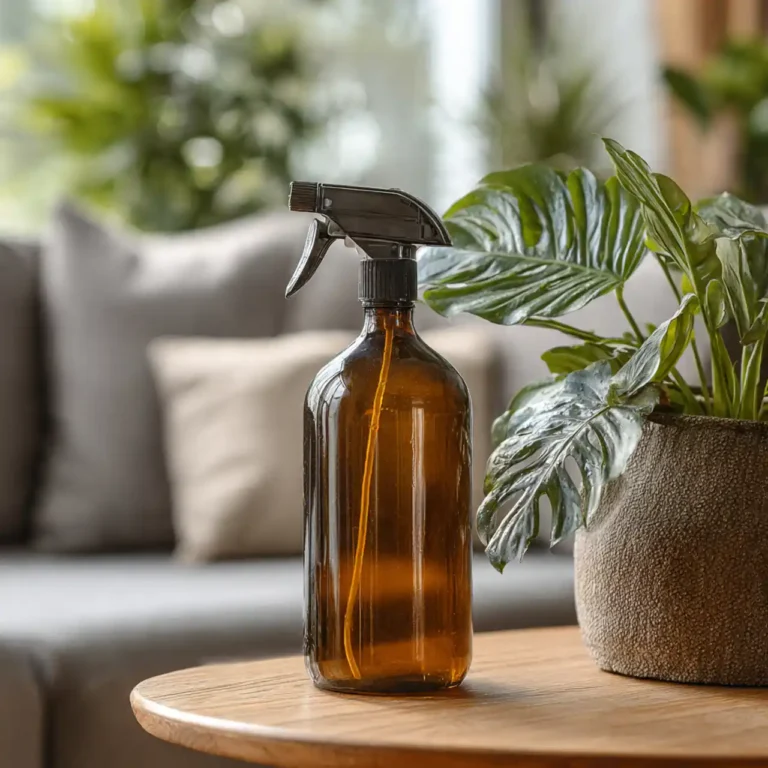
Pro tip: Always choose a glass spray bottle, as it withstands vinegar better than plastic, which can degrade over time. Plus, it adds an elegant touch to your cleaning supplies!
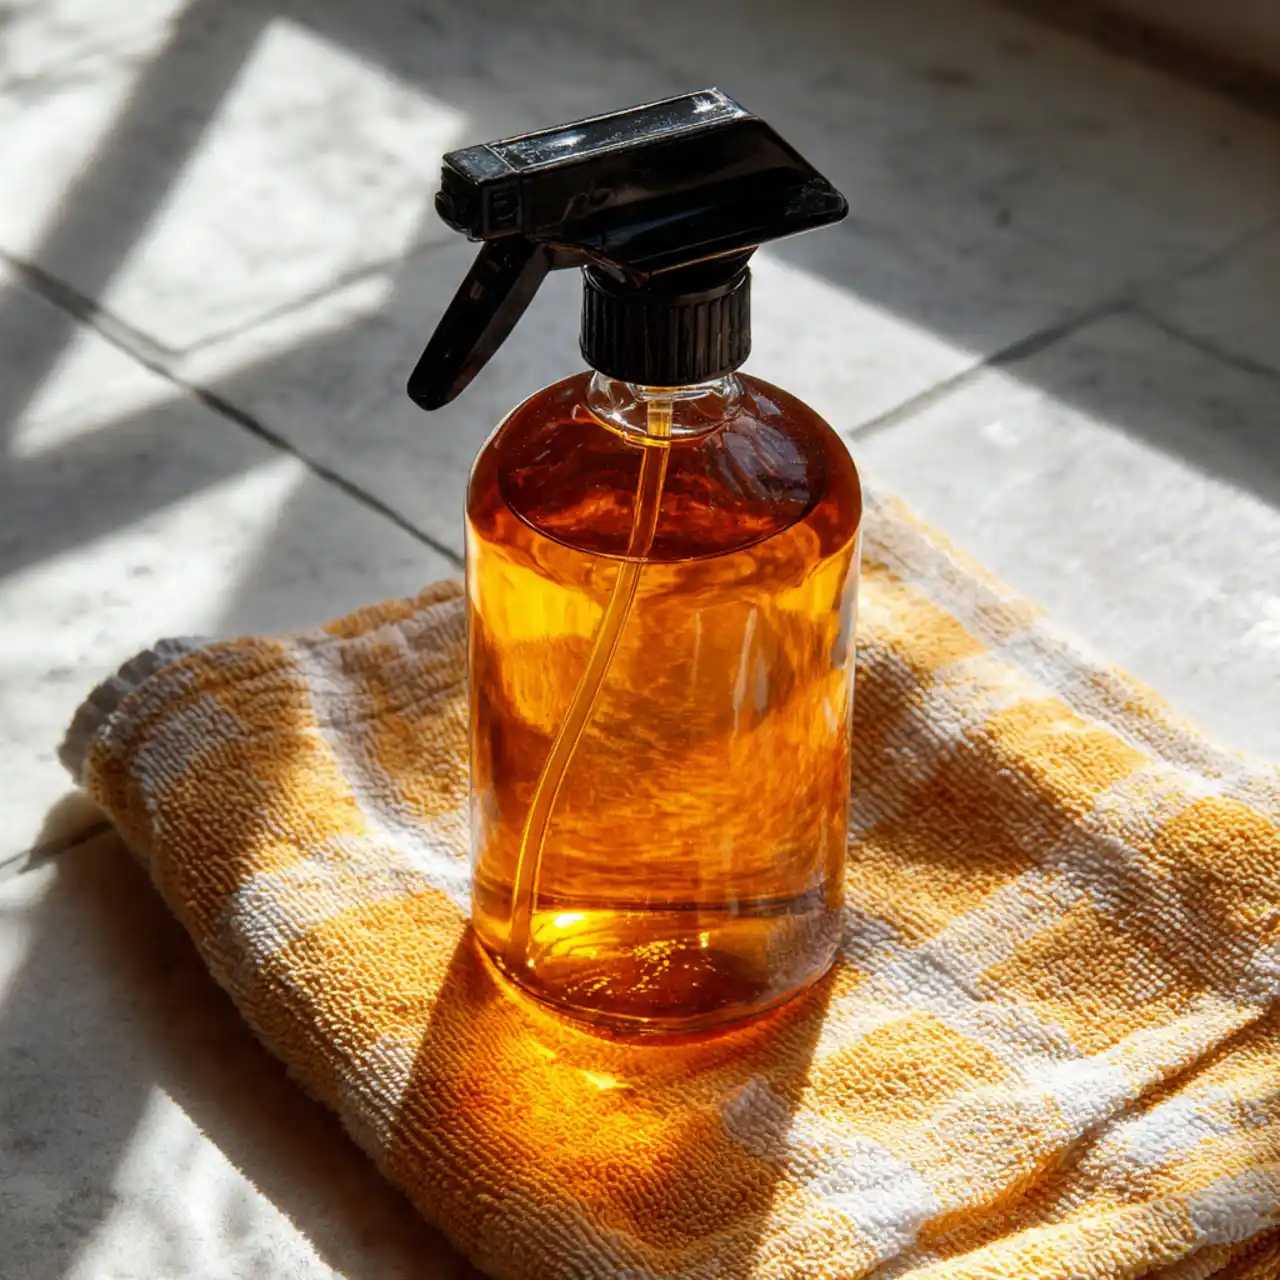
Mixing It Up: The Basic Recipe

With your ingredients ready, let’s mix up your vinegar cleaning spray!
Here’s how to do it:
1. Measure 1 cup of distilled white vinegar and pour it into your spray bottle.
2. Add 1 cup of water to dilute.
3. If desired, include 10-20 drops of essential oils for fragrance.
4. Secure the nozzle and shake gently to combine.
5. Label the bottle for easy identification later!
This simple recipe is perfect for everyday cleaning tasks. Use it on countertops, tiles, and windows for a sparkling finish. The gentle acidity of vinegar cleans effectively without harmful chemicals.
More Like This
- 🎨 From Oil Stains to Artful Gains: Garage Painting Ideas That Turn a Workshop Into a Showplace

- 👑 The Throne of Dreams: Poshish Bed Design That Commands the Room & Cradles You in Luxury

- 🔧 From Grease to Greatness: Man Cave Garage Ideas That Transform Concrete Into a Personal Sanctuary

- 🌳 Teak Wood Alchemy: Modern Bed Designs That Feel Like a Sunlit Grove at Dusk

- 🔥 Hearth & Horizon: Living Room With Fireplace Designs That Glow Like a Canyon Sunset

- 🌿 Between & Beyond: Room Divider Ideas That Sculpt Space, Soften Light & Keep You Connected

Customize Your Scent

One of the most enjoyable aspects of making your vinegar cleaning spray is the customization! You can add different essential oils for a unique scent that enhances your cleaning experience.
Here are some popular options:
– Lemon: Brightens your kitchen with a fresh aroma.
– Lavender: Creates a calming atmosphere in bathrooms and bedrooms.
– Tea Tree: Provides antibacterial properties for tough jobs.
Don’t hesitate to mix and match to discover your ideal scent combination. For instance, lemon and lavender together can create a refreshing yet relaxing environment. Just remember, a little essential oil goes a long way!
Personalizing your spray not only makes cleaning more enjoyable but also enhances its effectiveness.
How To Create Your Own Powerful Vinegar Cleaning Spray
Tools You’ll Need:
– Spray bottle (preferably glass or high-quality plastic)
– Measuring cup
– Funnel (optional)
– Mixing spoon
Step 1: Measure Your Ingredients
Start by measuring out your ingredients. You will need 1 cup of distilled white vinegar, which is the main cleaning agent. Then, measure 1 cup of water to dilute the vinegar. This mixture is strong enough to tackle most cleaning jobs while being safe for many surfaces. If you want to enhance the cleaning power, you can add a few drops of dish soap.
✔ 1 cup distilled white vinegar
✔ 1 cup water
✔ Optional: few drops of dish soap
Step 2: Mix It Up
Using a funnel, pour the measured vinegar and water into your spray bottle. If you’re adding dish soap, do this after pouring the vinegar and water. Gently mix the solution by swirling the bottle, but avoid shaking it too hard to prevent bubbles from forming. Your vinegar cleaning spray is now ready to use!
✔ Combine vinegar and water in the bottle
✔ Add dish soap if desired
✔ Mix gently
Step 3: Customize Your Scent
To make your cleaning spray smell great, consider adding essential oils. Popular choices include lemon, lavender, or tea tree oil. Just add about 10-20 drops of your preferred oil into the mixture. This not only masks the vinegar smell but also gives your spray additional antibacterial properties.
✔ Choose your essential oil
✔ Add 10-20 drops to the mixture
✔ Shake gently after adding
Step 4: Label Your Spray Bottle
It’s a good idea to label your spray bottle. Write clearly on a piece of tape or a label that it contains vinegar cleaning spray. This prevents any mix-ups and ensures you know what’s inside for future use! Additionally, keep it out of direct sunlight to preserve its effectiveness.
✔ Use a label maker or masking tape
✔ Store in a cool, dark place
Step 5: Safe Surfaces to Clean
Your vinegar cleaning spray works wonders on various surfaces. It is perfect for cleaning glass, countertops, and bathrooms. However, avoid using it on natural stone surfaces like granite or marble, as the acidity can damage these materials. Test a small area first if you’re unsure.
✔ Safe for glass, countertops, and bathroom fixtures
✔ Avoid natural stone
✔ Test surfaces before full application
Step 6: Tackling Tough Messes
For tougher stains, let the vinegar cleaning spray sit for a few minutes before wiping. This allows the solution to break down grime effectively. Use a microfiber cloth to clean for the best results, as it helps lift dirt without scratching surfaces.
✔ Spray on the tough stain
✔ Let sit for 5-10 minutes
✔ Wipe with a microfiber cloth
Pro Tip: Make sure to shake the bottle gently before each use to remix the ingredients, especially if you have added essential oils. Also, always keep the spray out of reach of children and pets for safety.
Using this simple recipe, you can create a powerful, natural cleaner right at home. Not only does it save money, but it helps you avoid harsh chemicals, making your cleaning routine safer for your family and the environment. Enjoy a cleaner home with your DIY vinegar cleaning spray!
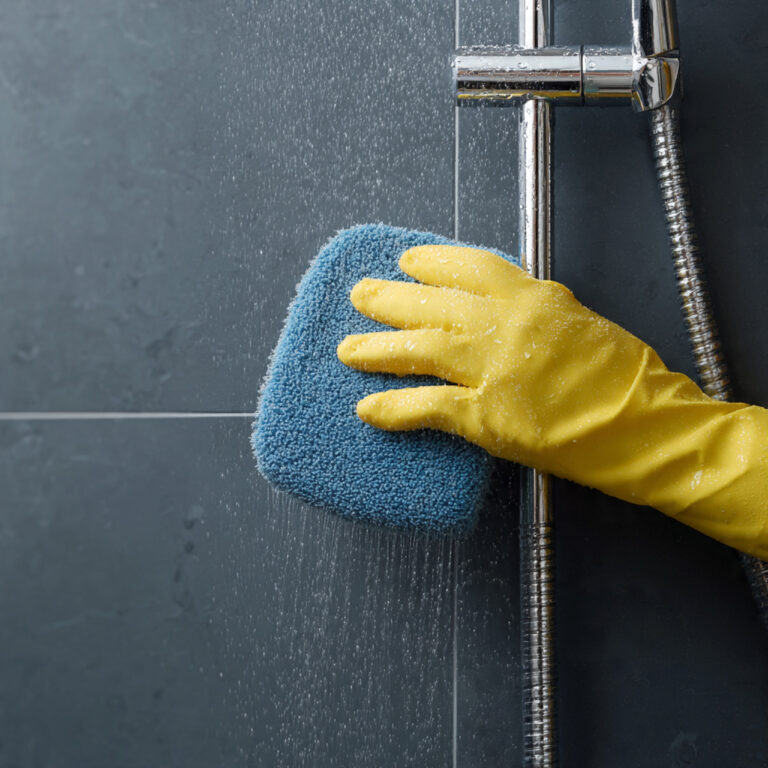
Safe Surfaces to Clean

While vinegar is a fantastic cleaner, knowing where to use it is essential.
Here are surfaces that are safe to clean with your vinegar spray:
– Countertops: Works well on many materials, but avoid marble and granite.
– Glass: Perfect for achieving a streak-free shine on windows and mirrors.
– Bathroom Fixtures: Ideal for removing soap scum and grime.
However, steer clear of using vinegar on:
– Natural Stone: Can damage surfaces like granite and marble.
– Wood: Unfinished wood can absorb vinegar and warp.
Understanding where vinegar is safe to use ensures effective cleaning while preventing damage.
Tackling Tough Messes

Sometimes messes can be tough, even for vinegar! To handle stubborn stains, allow your vinegar cleaning spray to work its magic:
1. Generously spray the affected area until well coated.
2. Let it sit for at least 10 minutes to break down grime.
3. Wipe with a clean cloth or sponge.
4. For extra stubborn stains, combine vinegar with baking soda for a fizzing reaction!
Using this method helps lift dirt effortlessly, making it easier to keep your home clean with minimal effort.
Frequently Asked Questions

Q: Can vinegar be used on any surface?
A: Not exactly! While effective on many surfaces, avoid using it on natural stone and unfinished wood.
Q: What if I don’t like the smell of vinegar?
A: Adding essential oils can help mask the vinegar scent while maintaining its cleaning properties.
Q: How long does my cleaning spray last?
A: Your vinegar cleaning spray can last several weeks when stored in a cool, dark place. Shake it before each use!
These FAQs can guide you and help you maximize the benefits of your vinegar cleaning routine.
💡
Key Takeaways
Essential tips from this article
🧴
BEGINNER
Gather Your Supplies
Collect all necessary ingredients like vinegar, water, and optional essential oils for an effective cleaning spray.
⚗️
ESSENTIAL
Mix It Right
Follow the basic recipe of combining equal parts vinegar and water to create your powerful cleaning solution.
🌸
QUICK WIN
Customize Your Scent
Add essential oils such as lemon or lavender to your vinegar spray for a pleasant fragrance while cleaning.
🧽
WARNING
Safe Surfaces Only
Use vinegar cleaning spray on safe surfaces like glass, countertops, and bathroom tiles to avoid damage.
💪
PRO TIP
Tackle Tough Messes
For stubborn stains, let the vinegar cleaning spray sit for a few minutes before wiping for better results.
🔍
ADVANCED
Experiment and Learn
Try different vinegar concentrations and combinations to discover what works best for your cleaning needs.
Conclusion: Embrace the Power of DIY Cleaning
Making your own vinegar cleaning spray is a simple yet effective way to take charge of your cleaning routine.
With its natural ingredients, you can create a safer environment for your family while ensuring your home sparkles.
So grab your supplies, and let’s get started on this fun and rewarding DIY project!
Frequently Asked Questions
What are the essential ingredients for a powerful vinegar cleaning spray?
For a simple vinegar cleaning spray, you mainly need distilled white vinegar, clean water, and a spray bottle. This makes a DIY solution that’s a natural cleaner you can trust.
Classic ratio: 1 part vinegar to 1 part water for most surfaces; use 1:1 for tougher grime.
Optional: add 5–10 drops of your favorite essential oils for a pleasant scent.
How to mix: pour vinegar and water into the bottle, add essential oils if using, cap, shake gently, and label. Store in a cool, shaded spot and use within a few months for best freshness.
How can I customize the vinegar cleaning spray for different surfaces?
Different surfaces respond best to different ratios and techniques. For glass and mirrors, use a 1:1 mix and wipe with a microfiber cloth for a streak-free shine.
For most countertops, the same ratio works, but avoid spray on unsealed stone or natural stone; instead spray onto a cloth and wipe.
For stainless steel, spray onto a cloth rather than directly on the surface to reduce water spots.
For wood finishes, spray onto a cloth and wipe—avoid spraying directly on bare wood.
Always perform a small patch test first and adjust accordingly.
Is it safe to use a vinegar cleaning spray around kids and pets?
Yes, it’s a natural cleaner that works well for everyday messes, but treat it with respect. Avoid ingestion and direct eye contact, and ensure the area is well-ventilated.
Do not spray on live plants that dislike acidity, and never mix vinegar with bleach or ammonia.
When kids or pets are nearby, spray onto a cloth or apply to the surface away from their reach, and let the area dry before enabling access.
How should I store and preserve my DIY vinegar cleaning spray?
Store your vinegar cleaning spray in a cool, dark place in a labeled bottle. The DIY solution base (vinegar and water) lasts, but water can promote microbes, so make small batches and shake well before use.
If you add essential oils, note any sensitivities and keep away from children or pets.
Avoid exposing the spray to direct sunlight, and replace every few months for best performance.
Can I add essential oils or other scents to improve the smell without reducing cleaning power?
Absolutely. Adding essential oils can enhance the fragrance of your vinegar cleaning spray without sacrificing cleaning power in most cases.
A typical amount is 5–15 drops per 16 oz bottle, adjusting to your scent preference. Be mindful with citrus oils around certain surfaces like unsealed stone or finished wood, and always test a hidden patch first.
If anyone in your home has allergies, start with a milder dilution. This keeps your DIY solution both effective and pleasant.